
Fix Wood Floor Scratches in Minutes: Simple DIY Solutions
What Causes Scratches on Wood Floors?
Hardwood floors are prized for their timeless beauty and durability, but even the sturdiest wood isn’t immune to wear and tear. Over time, daily household activities can lead to unsightly scratches, dents, and gouges that detract from your floor’s polished appearance. Understanding what causes these damages is the first step toward effective prevention and repair.
Furniture Movement: The Top Offender
Dragging heavy furniture across hardwood floors is one of the most common causes of damage. “Dragging furniture is a major culprit—especially when it’s done without protective pads,” says Rick Berres, owner of Honey-Doers, a remodeling company based in Lakeville, Minnesota. The friction between the furniture legs and the floor surface can quickly create deep grooves or scuff marks, particularly if the furniture has sharp edges or metal feet. Even moving lighter items like chairs or side tables can leave behind minor scratches if done carelessly.
Dirt and Dust: Silent Saboteurs
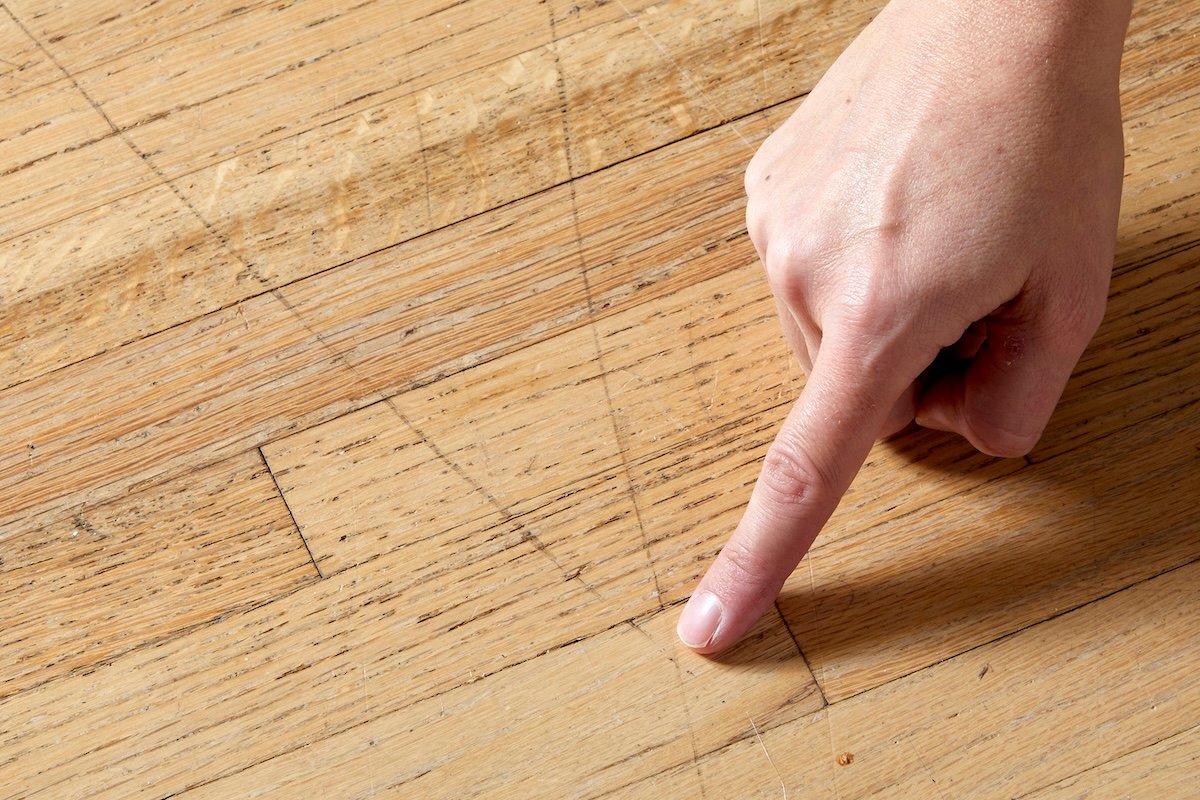
Unseen particles of dirt and dust may seem harmless, but they act as tiny abrasives underfoot. As people walk across the floor, grit gets ground into the wood’s finish, gradually wearing it down and creating micro-scratches. According to Zack Clavin, a flooring expert at Bona, “Dust and debris accumulate over time, turning your floor into a natural sandpaper with every step.” This issue is especially problematic in high-traffic areas like entryways, hallways, and living rooms.
Pet Nails: A Constant Threat
Pets, particularly dogs and cats, can be unintentional floor destroyers. Untrimmed claws can scratch, gouge, or even chip away at the wood surface, especially on softer species like cherry, walnut, or maple. “Energetic pets who run around the house or older animals struggling to maintain balance are more likely to leave marks,” Clavin explains. These scratches often appear near favorite resting spots or pathways leading to food bowls and litter boxes.
Improper Cleaning Methods
Using the wrong cleaning products can do more harm than good. Harsh chemicals, ammonia-based cleaners, or even excessive water can strip away the protective finish on your hardwood floor. Once this layer is compromised, the wood becomes far more susceptible to scratches and stains. Clavin warns that even seemingly gentle cleaners may contain ingredients that degrade the floor’s sealant over time.
Shoes Indoors: A Hidden Hazard
Even soft-soled shoes can contribute to floor damage. High heels, in particular, concentrate weight on a small area, making them prone to causing dents, punctures, and deep scratches. But it’s not just heels—any footwear worn indoors can track in dirt, sand, and other abrasive materials. These particles get embedded into the floor’s surface through constant foot traffic, acting like fine-grit sandpaper over months or years.
Why Proper Floor Cleaning Is Crucial
Maintaining clean hardwood floors isn’t just about aesthetics—it’s essential for preserving their longevity and structural integrity. Regular cleaning helps prevent the buildup of damaging particles and keeps the protective finish intact.
Choosing the Right Tools
The cleaning tools you use matter just as much as the products. Stiff-bristled brooms and vacuum cleaners with rotating beater bars or wheels can cause scratches, even if used carefully. Instead, opt for a lightweight cordless vacuum cleaner or a soft-bristle broom designed specifically for hardwood floors. These tools effectively remove dust and debris without risking surface damage.
Effective Cleaning Techniques
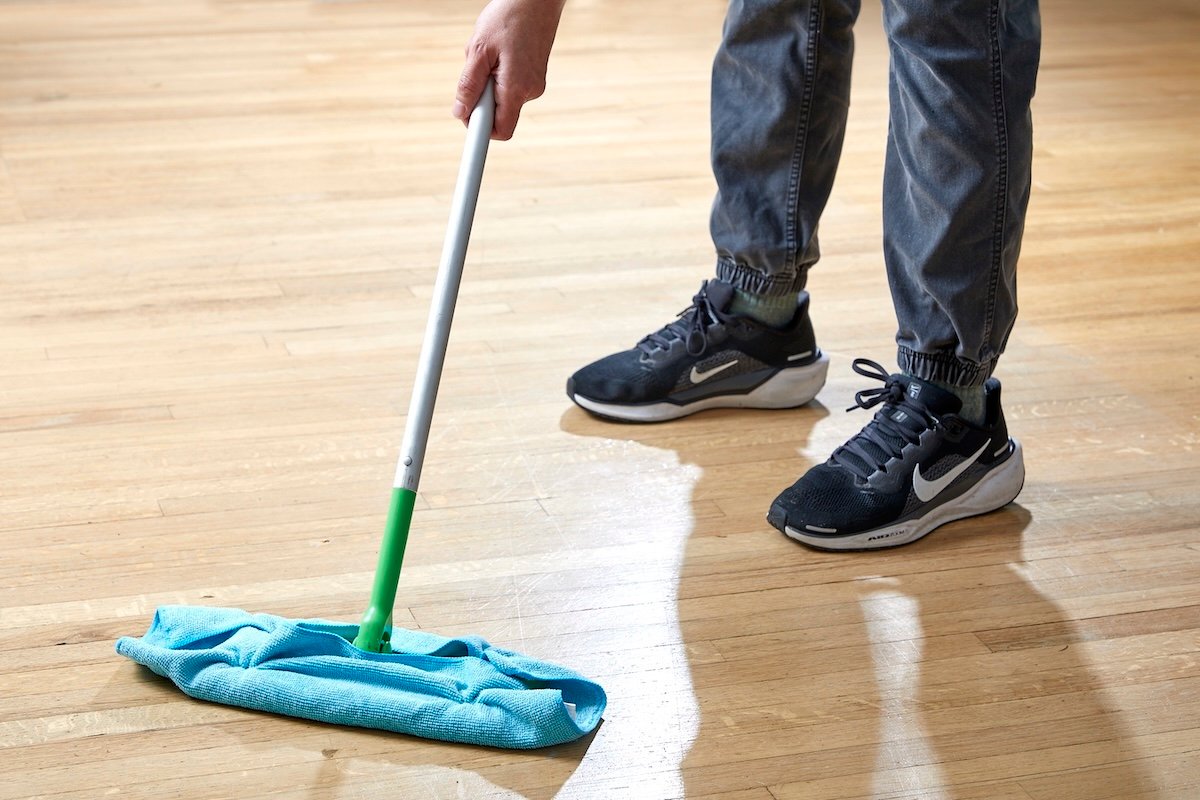
After sweeping or vacuuming, mop the floor using a microfiber mop and a hardwood-safe cleaner. Products like Bona Hardwood Floor Cleaner Spray are formulated to lift dirt while maintaining the floor’s protective coating. Always ensure the mop is only slightly damp—not wet—to avoid water damage. Excess moisture can warp the wood or weaken its finish over time.
When selecting a cleaner, verify that it’s compatible with your specific type of hardwood and finish (e.g., oil-finished, polyurethane-coated, or matte). Using an incompatible product can lead to discoloration, dullness, or increased vulnerability to scratches.
Repairing Scratches on Wood Floors: From Superficial to Deep Damage
While prevention is key, occasional scratches are inevitable. Fortunately, there are several effective methods to restore your floor’s appearance—some requiring only household items, others involving more advanced techniques.
Superficial Scratches: Quick Fixes with Natural Ingredients
Rub Walnuts Over the Scratch
This simple, eco-friendly trick works surprisingly well for light surface scratches. Take a raw walnut from your pantry and rub it vigorously in your hand to release its natural oils. Then, apply the nut directly to the scratch, rubbing in the direction of the grain. The oils and brown pigments will seep into the scratch, helping to blend it with the surrounding wood. Allow it to sit for 1–2 minutes, then buff gently with a soft cloth until smooth.
DIY Floor Refresher Paste
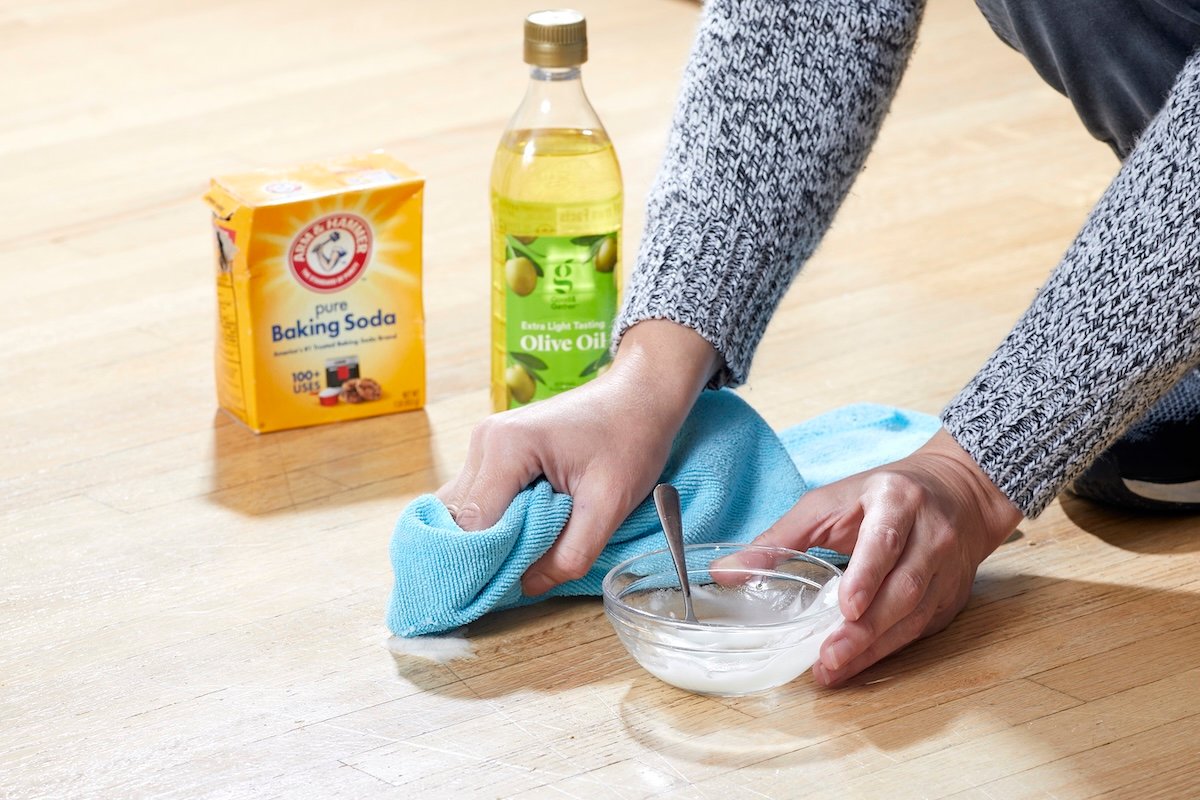
If walnuts aren’t available, make a paste using two common pantry staples: olive oil and baking soda. Mix equal parts in a small bowl to form a thick consistency. Apply the paste to the scratch using a soft cloth, rubbing in circular motions. The mild abrasiveness of the baking soda helps polish the surface, while the olive oil fills in the groove and adds shine. Let it sit for 5–10 minutes, then wipe away excess with a damp cloth and buff dry.
Minor Scratches: Tackling Deeper Marks
Steel Wool and Vinegar Solution
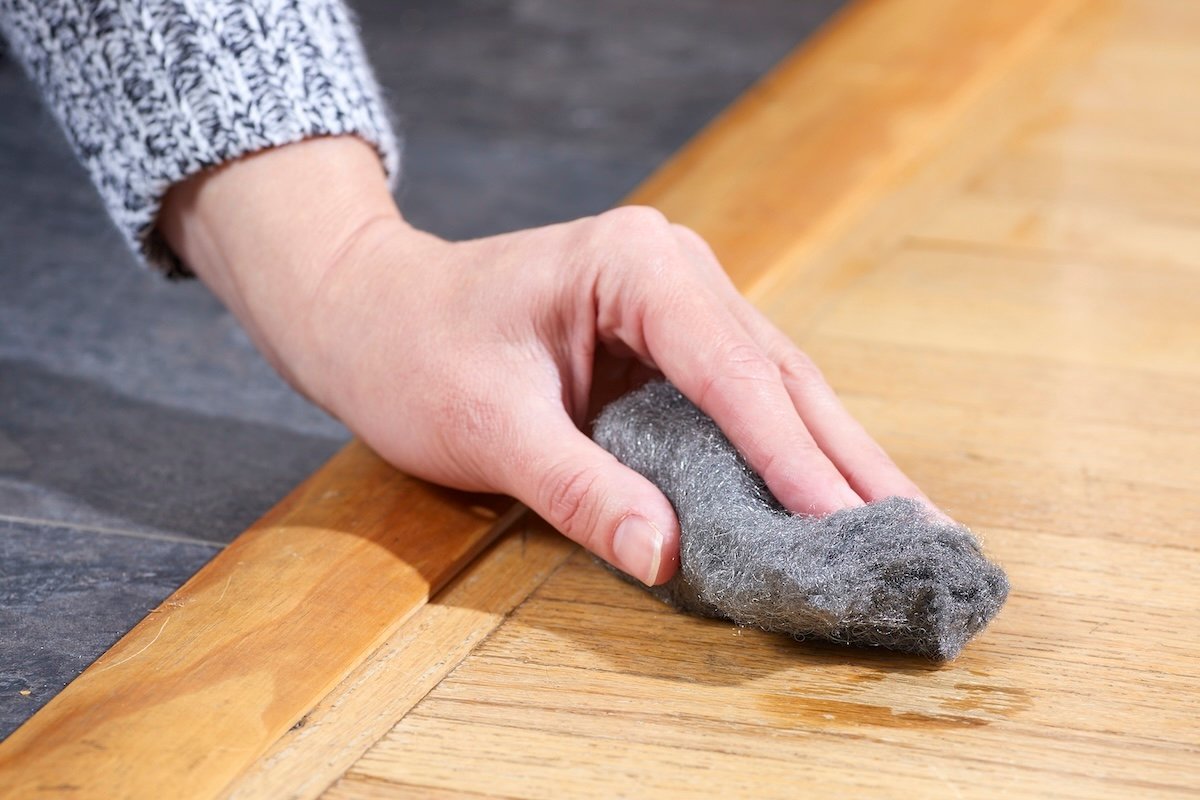
For slightly deeper scratches that don’t penetrate the entire finish, try a vinegar-and-water mixture combined with fine-grade steel wool. Mix equal parts white vinegar and water, then apply a small amount to the affected area. Let it soak for several hours to soften the wood fibers. Gently rub the scratch with #0000-grade steel wool (the finest available), always following the grain of the wood. This process helps level the surface and reduce the visibility of the scratch. Finish by wiping with a clean, damp cloth and drying thoroughly.
Clavin recommends pairing this method with a microfiber cleaning pad and a quality wood floor cleaner to further minimize the mark’s appearance. These products can help conceal minor imperfections caused by everyday wear, such as scuffs from shoes or pet nails.
Use a Wood Floor Scratch Cover
For temporary coverage, consider a scratch cover product. These are typically tinted liquids or pastes designed to match the color of your flooring. They’re applied directly to the scratch to hide it visually. While convenient, Clavin cautions that these solutions only mask the damage—they don’t repair the wood or restore the finish. Over time, they may fade or wear off, requiring reapplication.
Deep Scratches and Gouges: Rebuilding the Surface
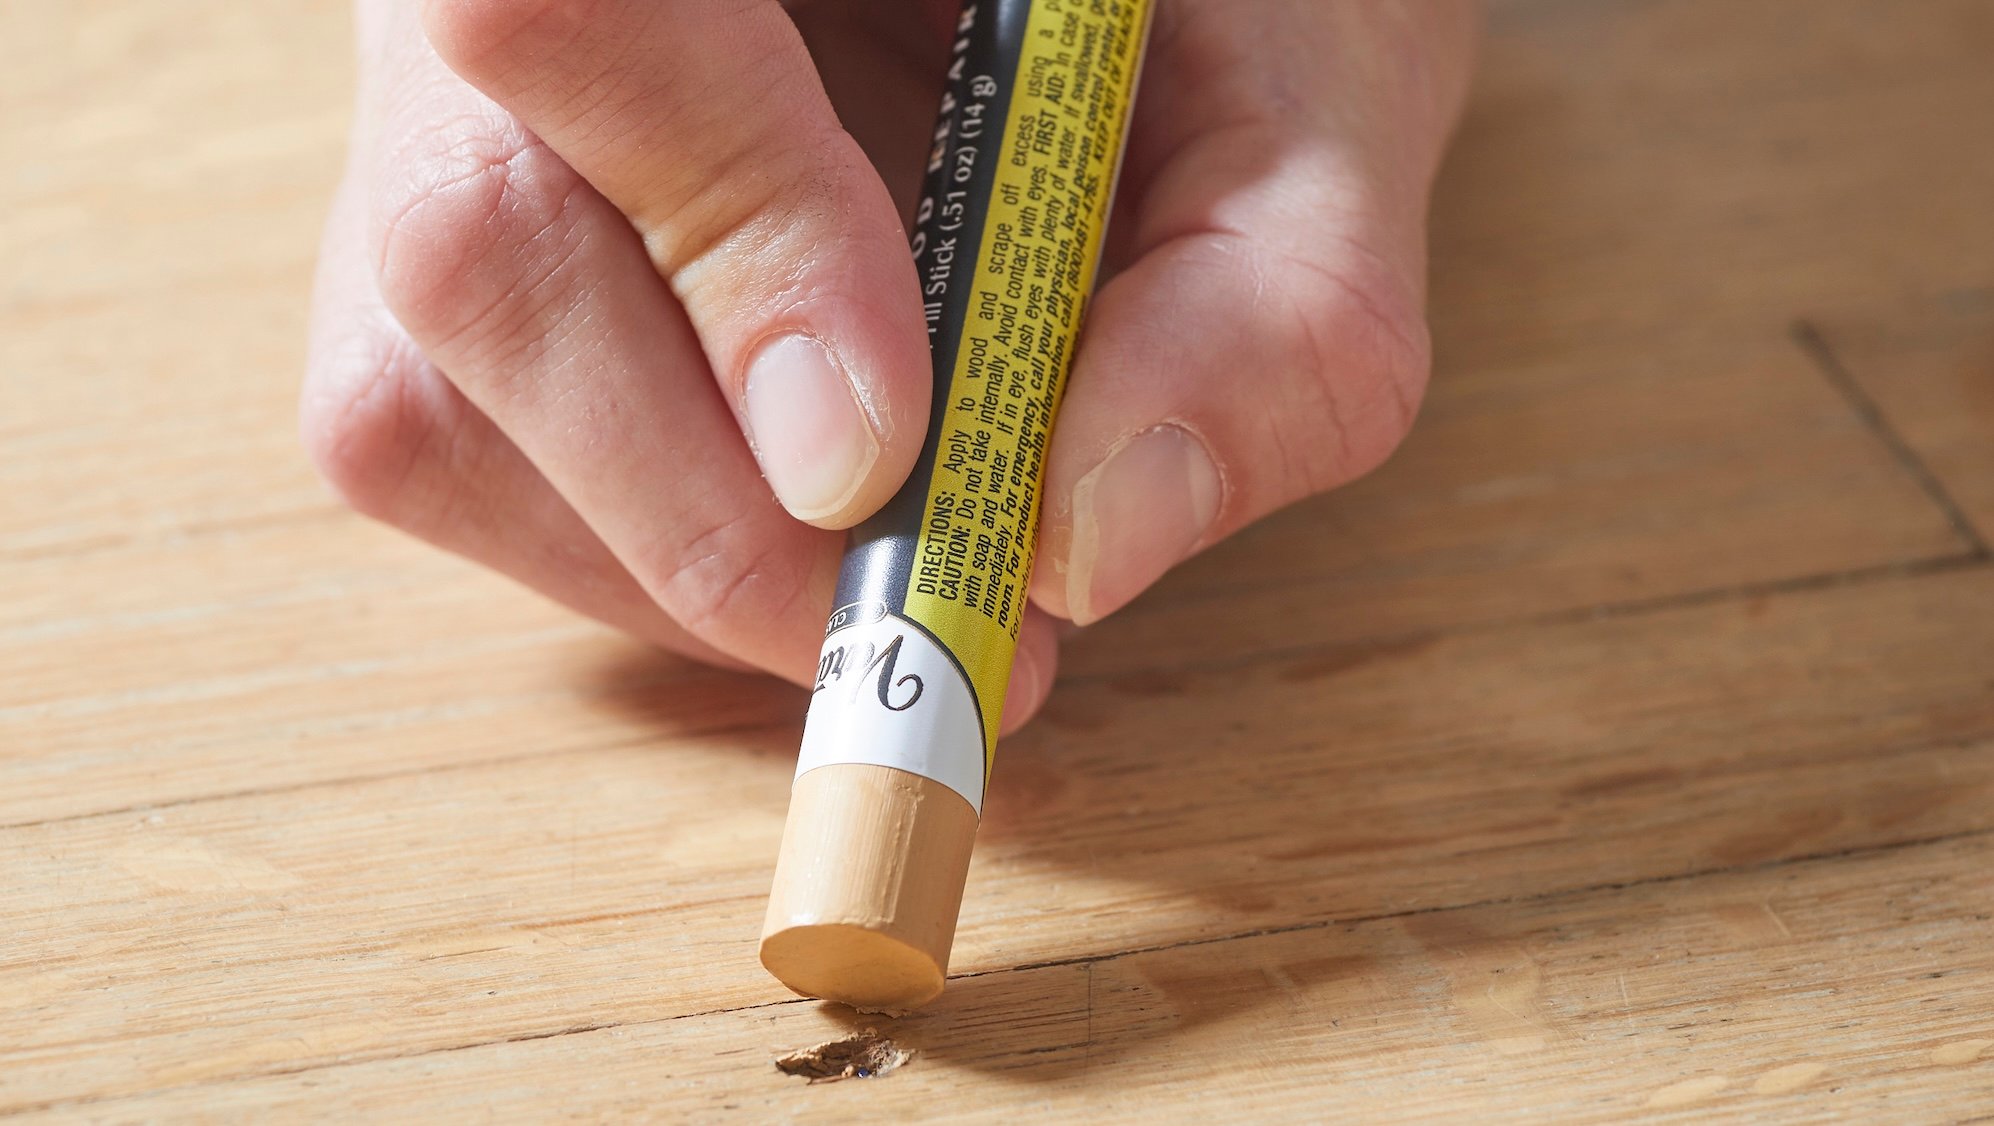
For serious damage—deep gouges or large dents—more intensive repairs are necessary. In these cases, wood putty is often the best solution. Berres recommends selecting a putty that closely matches the color and grain of your flooring. After cleaning the area, apply the putty with a putty knife, pressing it firmly into the gouge. Allow it to dry completely (follow manufacturer instructions), then sand it flush with the surrounding floor using fine-grit sandpaper. Finally, refinish the area with matching stain and sealant to blend it seamlessly.
Repairing Deep Scratches and Damage on Wood Floors
When dealing with deep gouges or significant wear on hardwood floors, the repair process requires more than just a quick fix—it often demands a full restoration approach. For minor imperfections like small holes or shallow scratches, using wood putty or pre-colored latex wood filler can be an effective solution. However, when the damage runs deeper or affects a large section of your floor, a more comprehensive method is necessary.
Start by selecting a pre-colored latex wood filler that closely matches the hue and grain pattern of your existing flooring. These fillers come in various shades and are designed to blend seamlessly with different types of wood. If the exact match isn’t available, you may need to mix two colors together to achieve the right tone. Apply the filler into the damaged area using a putty knife, making sure it’s slightly overfilled so there’s room for sanding later.
Once the filler has dried completely—this can take several hours depending on the product—use fine-grit sandpaper (around 120 to 150 grit) to gently smooth the surface. Sand in the direction of the wood grain to avoid creating visible swirl marks. Be thorough but cautious; excessive pressure can damage surrounding areas. After sanding, wipe down the area with a damp cloth to remove dust, then allow it to dry before proceeding.
The next step is staining. Choose a stain that matches your floor’s original color. Test the stain on a hidden section first to ensure accuracy. Apply the stain with a clean cloth or applicator brush, following the grain, and let it dry completely. Once dry, apply a clear finish—such as polyurethane—to seal and protect the repaired area. This final coat should be applied evenly and allowed to cure fully before walking on the floor.
For larger-scale damage—especially if multiple boards are affected or the floor has suffered from prolonged water exposure—the most reliable solution is to hire a professional hardwood floor refinisher. A skilled technician will use a floor sander to remove the top layer of wood, eliminating scratches, dents, paint splatters, and water stains. The process typically involves three stages: rough sanding, medium sanding, and fine sanding, each with progressively finer grits to create a perfectly smooth surface.
After sanding, the floor is stained to restore its original appearance, followed by the application of a protective finish. Depending on the thickness of your flooring and the skill level of the professional, hardwood floors can usually be sanded and refinished between four to six times during their lifetime. This means that with proper maintenance, your floor can remain beautiful for decades.
When Is It Time to Replace Your Wood Floors?
While many types of hardwood flooring are surprisingly durable, certain conditions indicate that repair is no longer feasible. If the gouges are too deep to be filled effectively, or if the damage spans across multiple boards in a wide area, replacing the floor may be the only viable option. Structural damage—such as warping, buckling, or rot caused by water intrusion—is particularly difficult to reverse. Even after sanding and refinishing, severely compromised boards may not hold up under normal use.
As expert flooring consultant Berres notes, “Wood floors are more resilient than you think, and can often be brought back to life with a sanding and a stain.” But when the damage goes beyond cosmetic issues and threatens the integrity of the floor, replacement becomes essential. Water damage, especially from leaks or flooding, can compromise the wood’s stability and lead to mold growth, which further reduces the possibility of repair.
If you decide to replace your hardwood flooring, expect to pay an average of $3,067 for approximately 500 square feet, though costs can vary based on the type of wood, installation complexity, and regional labor rates. Hardwood options range from affordable species like oak and maple to premium choices such as walnut or hickory. Additionally, consider the long-term value and aesthetic appeal of your new floor when making this decision.
Proactive Measures to Prevent Future Damage
Even the most well-maintained floors are susceptible to wear over time. The best way to preserve your investment is through prevention. Here are key strategies to minimize scratches and extend the lifespan of your wood flooring:
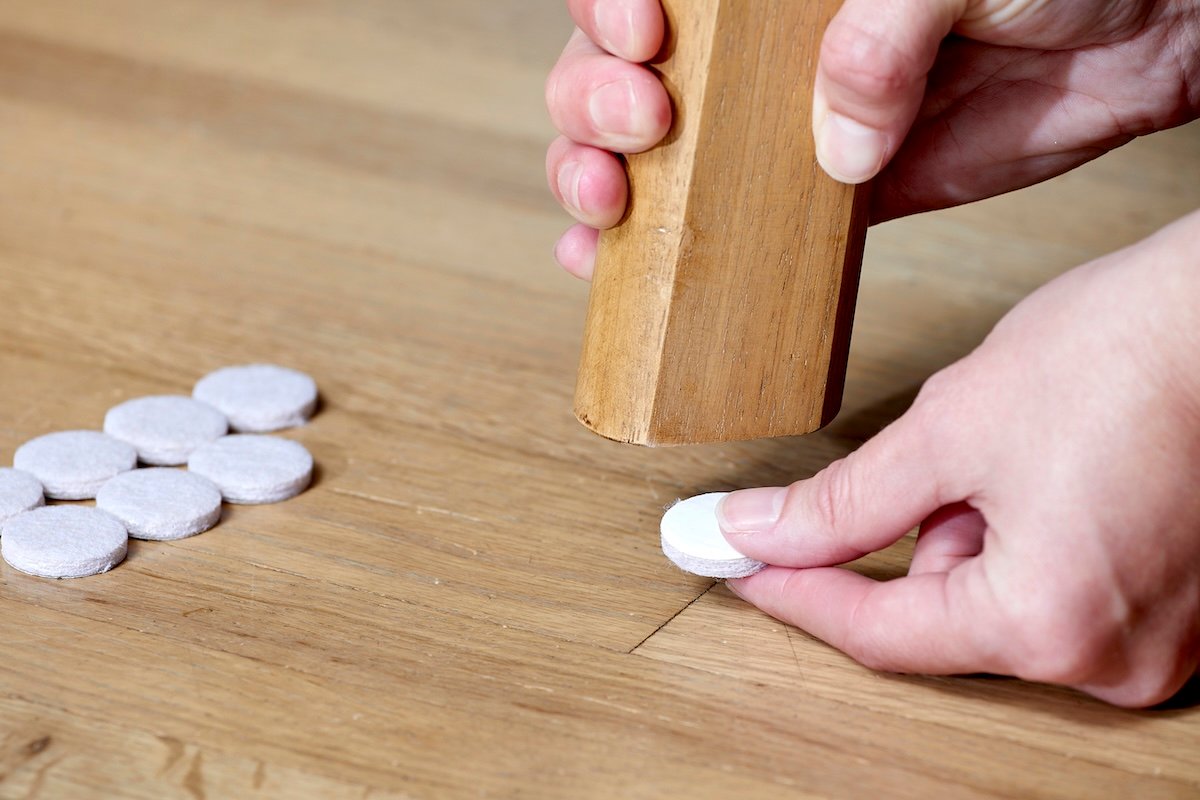
- Place felt pads under the legs of heavy furniture, chairs, and stools to prevent dragging and scuffing.
- Install area rugs and runners in high-traffic zones like entryways, hallways, and kitchens to absorb impact and reduce friction.
- Clean your floors regularly using a vacuum with a soft brush attachment or a microfiber mop—avoid beater bars that can scratch the surface.
- Implement a no-shoes policy inside your home to keep dirt, grit, and debris off the floor.
- Keep pets’ nails trimmed short to prevent accidental scratches from paws.
- Periodically apply a high-quality wood polish or wax to create a protective barrier that resists minor abrasions and enhances shine.
By combining smart repair techniques with consistent preventive care, you can maintain the beauty and durability of your hardwood floors for years to come.